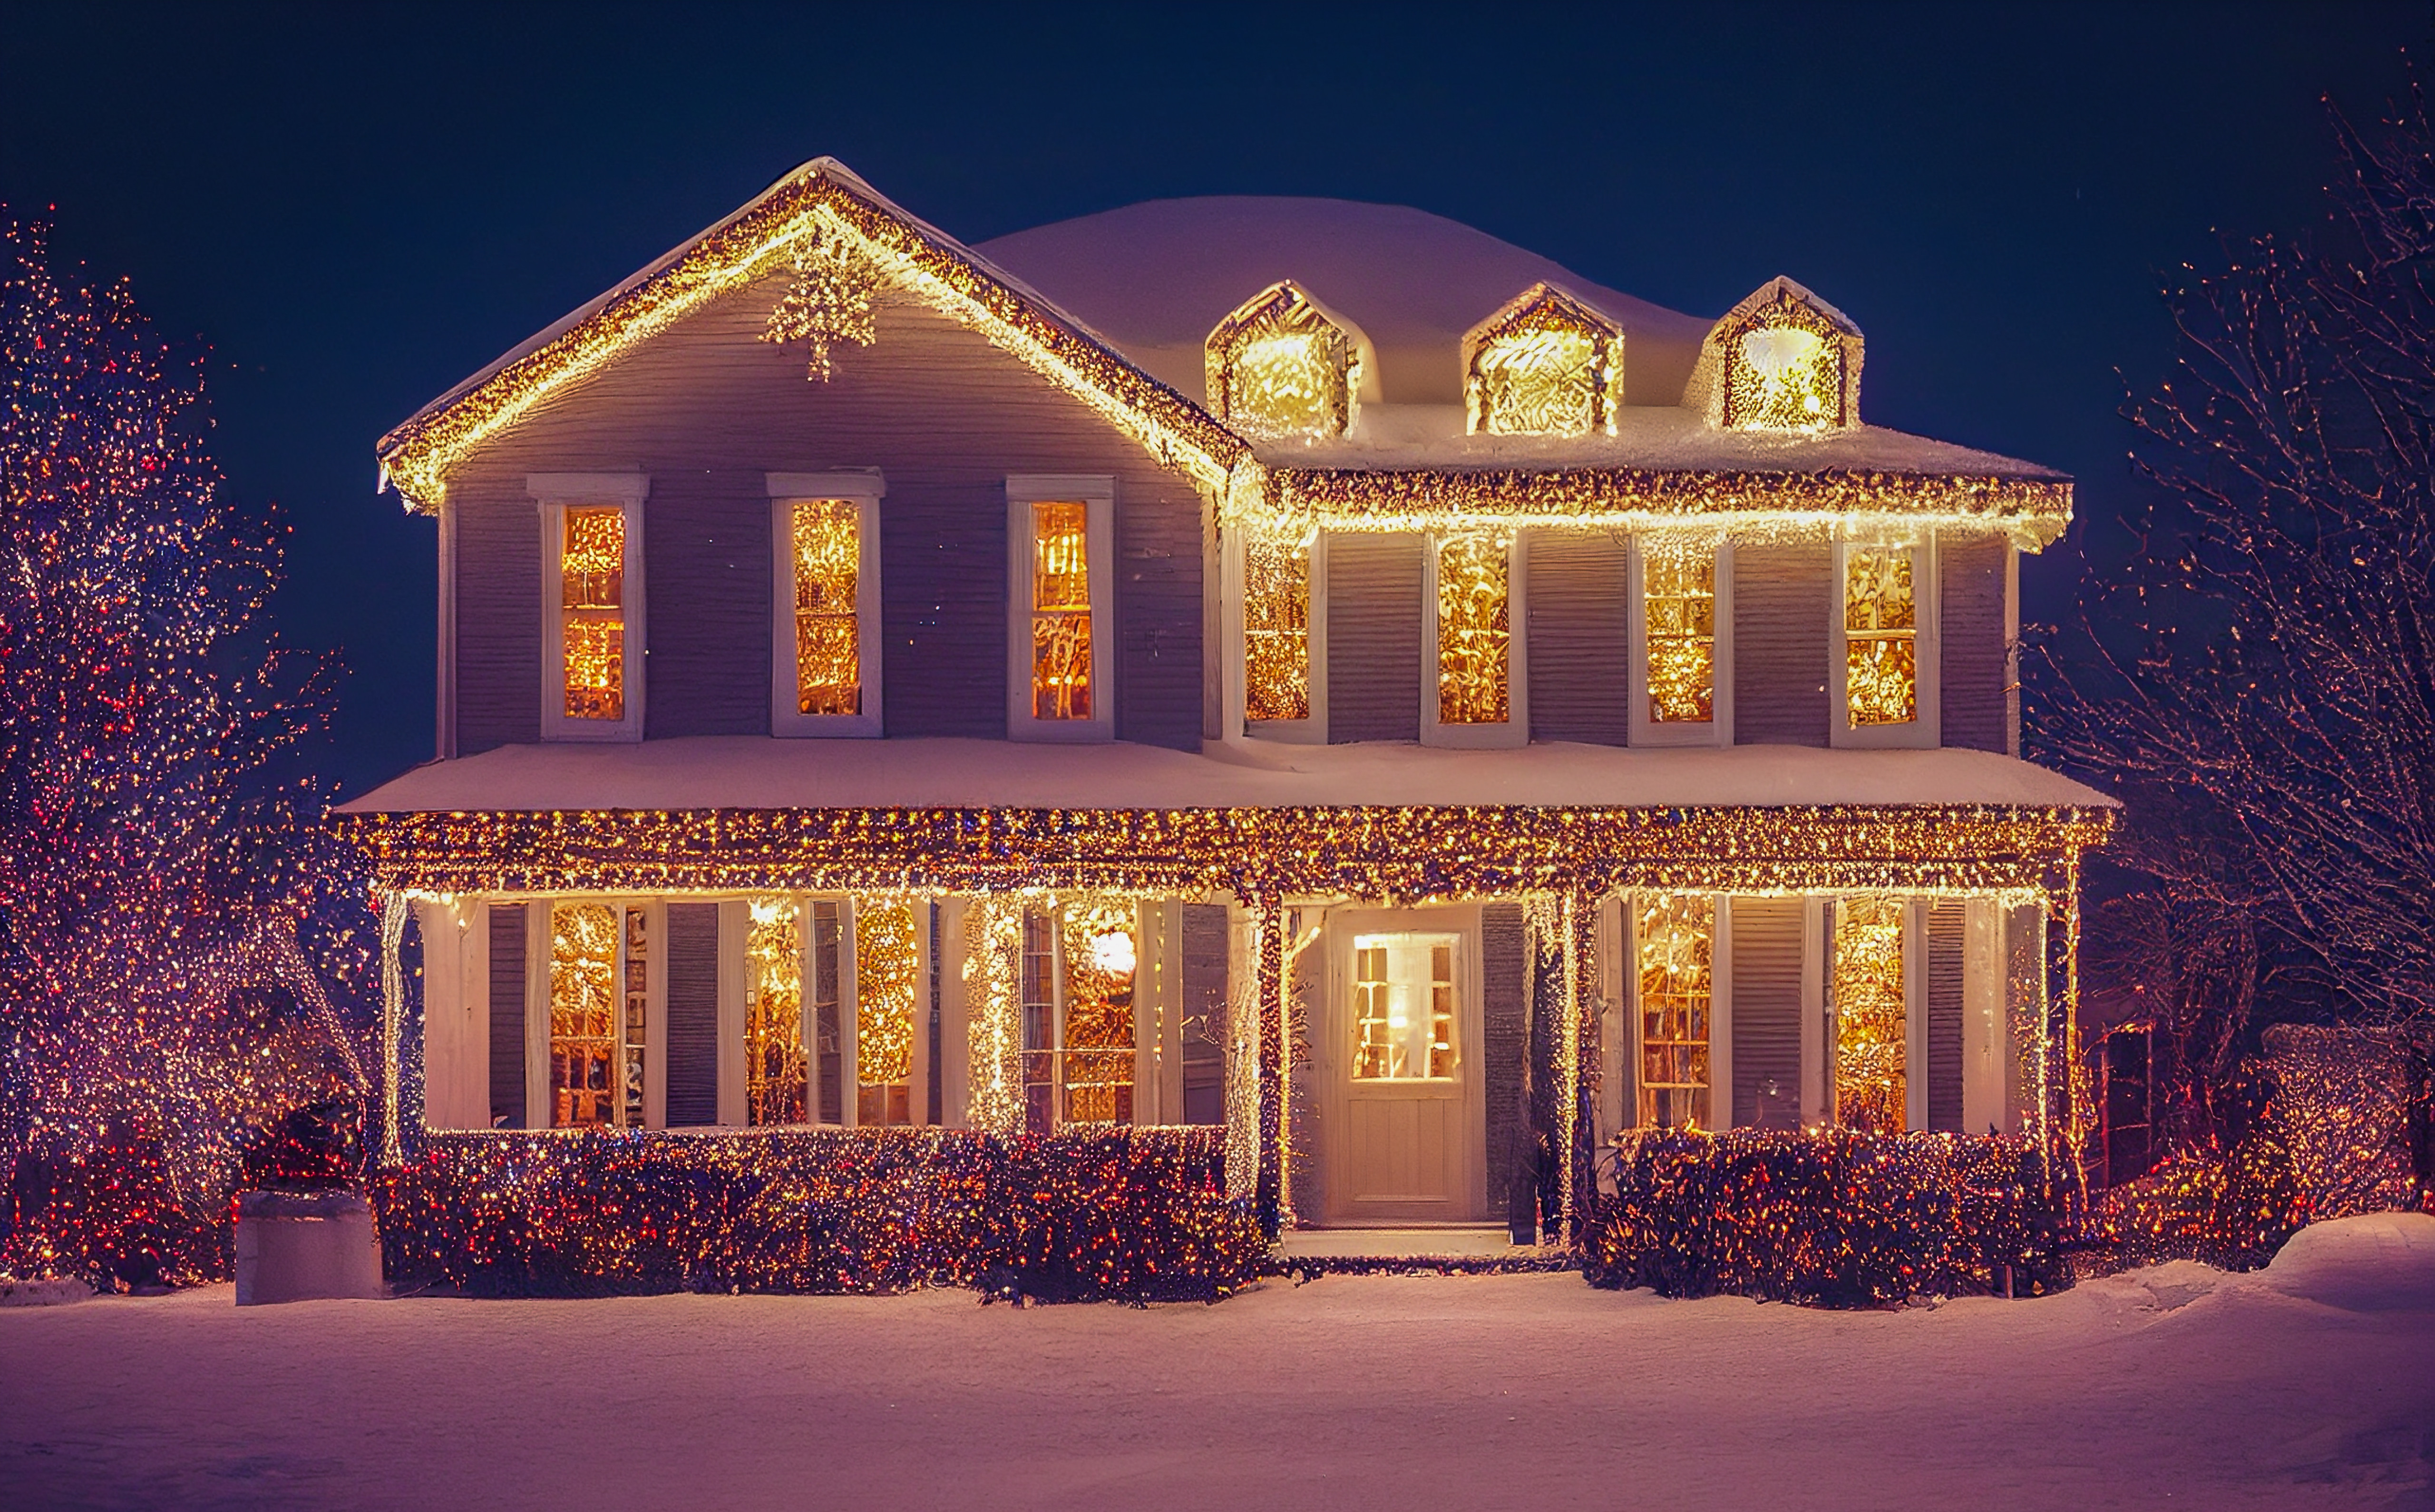
The holiday season is upon us, and there’s no better way to spread cheer than by adorning your home with twinkling lights. At Close to Home Construction, we want to help you create a festive exterior that’s both beautiful and safe. Follow our expert guide to hang holiday lights like a pro!
Planning your display
Before you start climbing ladders, it’s essential to plan your light display:
- Measure your house: Determine how many feet of lights you’ll need.
- Choose your lights: Decide between LED or incandescent, and select colors that complement your home.
- Check your outlets: Ensure you have enough outdoor electrical outlets to power your display.
- Create a layout: Sketch your design to visualize the final result.
Choose the right lights for your home exterior
To start, select outdoor-rated lights specifically made to withstand weather conditions. These lights are generally waterproof and UV-resistant, so they’ll last through rain, snow or cold. LED lights are highly recommended—they’re energy-efficient, cool to the touch and come in various colors and styles to suit your decor.
Gather your tools
- Sturdy ladder
- Light clips or hooks
- Extension cords (outdoor-rated)
- Automatic timer (outdoor-rated)
- Electrical tape
- Zip ties
- Work gloves
- Safety glasses
Holiday lights installation steps
- Test your lights: Plug in each strand to ensure all bulbs are working before hanging.
- Install clips or hooks: Attach light clips along your roofline, gutters and other areas where you’ll hang lights. This prevents damage to your home’s exterior.
- Start at the power source: Begin hanging lights near an outdoor outlet to minimize visible cords.
- Work methodically: Hang lights in sections, moving from left to right or bottom to top for a uniform look.
- Secure loose wires: Use zip ties or electrical tape to secure any dangling wires.
- Connect to power: Use outdoor-rated extension cords and connect them to a timer for energy efficiency.
Protecting your roof and gutters during installation
To protect your roof and gutters while hanging holiday lights, avoid using nails, staples or screws, which can damage shingles and gutters. Instead, use specially designed plastic light clips that securely attach to roof edges, shingles and gutters without causing harm. Whenever possible, avoid walking on your roof, as winter conditions can make shingles brittle and prone to cracking. If you need to reach high areas, consider using a telescoping pole instead of stepping onto the roof.
Additionally, check that your gutters are clean and stable before attaching lights. Opt for lightweight LED lights to reduce stress on gutters, and distribute the weight evenly along your roofline. Plastic clips are ideal for gutters, as they prevent scratching and denting. Taking these steps will help you create a festive display while keeping your roof and gutters in good condition for seasons to come.
Set up an outdoor timer for convenience
A timer can add convenience and energy savings to your holiday lighting setup. Timers automatically turn lights on at dusk and off at a designated time, eliminating the need to plug and unplug cords. Look for timers designed for outdoor use, as they are weatherproof and built to handle colder temperatures.
Holiday lighting safety tips
- Never hang lights in wet or windy conditions.
- Use a spotter when on a ladder.
- Avoid overloading circuits; distribute lights across multiple outlets if necessary.
- Keep lights away from flammable materials.
Maintenance and removal
Regularly check for burned-out bulbs or damaged wires. When the season ends, carefully remove lights and store them properly for next year.
Hanging holiday lights can be a fun tradition that brings seasonal cheer to your home. By using the proper tools and techniques, you’ll create a safe and stunning display that captures the magic of the season. From choosing the right holiday lights to safely securing them on your house, following these tips will make decorating your home’s exterior a breeze!
Ensure your roof is ready for winter storms by scheduling an inspection. Contact Close to Home Construction for a free consultation, and we’ll help make sure your roof is in peak condition for the colder months ahead.

